Wednesday 28 January 2015

Vertical roll with curls

Vertical roll with curls
Sometimes when you are concentrating on new things like colouring you can forget the previews techniques and how to do hair style which you should be able to do now
So when I had opportunity to practice the vertical roll again I decided to do it 
Some of my colleagues had difficulties with vertical roll for me vertical roll was very easy this time 
So here you have my new version of vertical roll

Photo 1 


Photography by Katarzyna Kujawa © 2015


Photo 2


Photography by Katarzyna Kujawa © 2015

you can check my video below


Photo 3


Photography by Katarzyna Kujawa © 2015

Photo 4


Photography by Katarzyna Kujawa © 2015


For  the finish look, I decided to use hair spray and wet wax 


Thank you for checking my blog
Don't go yet,
I am human not just paper on your computer screen
show me that you are human too
Leave a comment or subscribe
Please don't hesitate to contact me through my blog or facebook.
Please leave your comment or subscribe to my youtube channel to see my new videos
Thank you


Friday 23 January 2015

Highlights Full Head, Half Head

I had was always dream about full head highlights but because I was concern about my hair I never really done it... I never lighten my own hair so much
As a student of hairdressing I understand now more about hair structure and what is happening during highlighting process and before I was defending all natural way of dyeing the hair now I am not scared to use chemicals  on the hair anymore

Still you have to be careful when you doing it and you have to know how to do it in appropriate way
and not over-process  the hair cs you can damage your hair if you don't know what to do

So we started highlighting the hair recently and we practice how to use foil and how to section the hair
Today we had great lesson about full head highlights  and I would like share my work with you


More than 2 hrs of work 
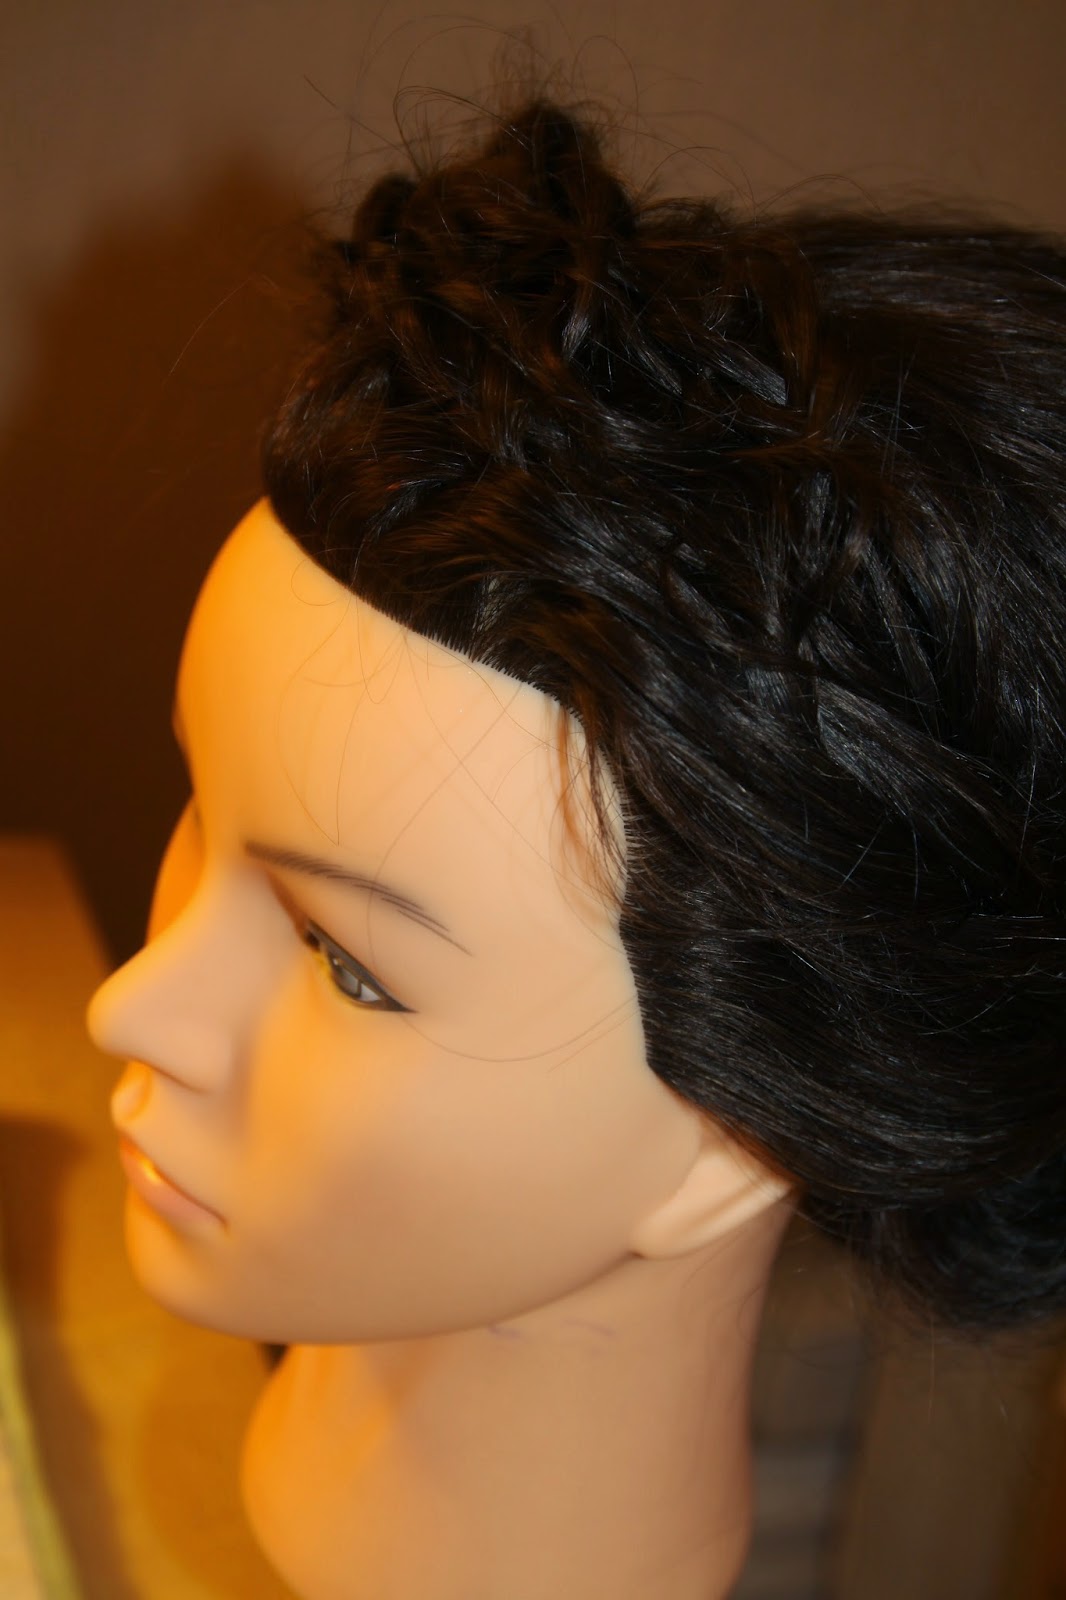
Photo 1
Photography by Katarzyna Kujawa  © 2015
video

Result

The half head highlights has to be done in this same way ( this same method is used to do your guid lines, hair selections) you will decide where is the half part of the head and just start do the packages from the bottom to the top, afterwards the sides and at the end the front  top of the head 
Photo 2
Photography by Katarzyna Kujawa  © 2015


Photo 3
Photography by Katarzyna Kujawa  © 2015


Photo 4

Photography by Katarzyna Kujawa © 2015


Photo 5
Photography by Katarzyna Kujawa © 2015


Photo 6
Photography by Katarzyna Kujawa © 2015


Photo 7
Photography by Katarzyna Kujawa © 2015

Photo 8
Photography by Katarzyna Kujawa © 2015


The hair was dark brunette and I used bleach Blue Frosting Powder Lightener with developer 6 % on the back of the head and the 9% on the fronts and on the sides  so you can see the hair are just a bit lighter maybe 2-3 shades lighter

It is very important to take good lightener powder so with this powder I couldn't get more lift on brunette hair and the hair were very orange at the end

For better result next time I will probably use Blonder Lightener which one will give me 5-6 shades of lift ( it will work deep in the hair cortex and lighten the hair )

With Blue Frosting Powder Lightener you will need to do 3-4 times the application to get the result of blonder but each one will have to be done every 4-5 weeks I will say , one application per month  so your will not  damage your hair ,
You have to remember that one strong application  could brake your hair specially if is not done by a professional hairdresser 

To change the orange to yellow colour you will have to use toner so after bleaching your hair with blonder or blue frosting lightener you will have to add 9/08 or similar colour

you can find on video below different way of removing brass / orange from your hair


https://www.youtube.com/watch?v=_Llj-DwoUtg


Update 27 August 2015

After one year of college I manage to do full head highlights in 1 hr and 10 min (medium hair length)


Thank you for checking my blog
Don't go yet,
I am human not just paper on your computer screen
show me that you are human too
Leave a comment or subscribe
Please don't hesitate to contact me through my blog or facebook.
Please leave your comment or subscribe to my youtube channel to see my new videos
Thank you


Wednesday 21 January 2015

Highlights/ Full Head

Highlights/ Full Head  
Today we had great lesson about highlighting the hair
We watched movie which one help us understand the whole process and method and the teacher done the presentation on one of the student's hair
Afterwards, we have started do highlights on our own head blocks
We used foil to keep the sections clean and tidy 


Photo 1
Photography by Katarzyna Kujawa © 2015


Photo 2 
Photography by Katarzyna Kujawa © 2015

Photo 3 On this photo you can see that the hair at the top lift up of 5-6 shades

Photography by Katarzyna Kujawa © 2015

Some many things you have to know 
What kind of product use and the amount of the product 
How thick hair strands of hair take for highlights 
How to section the hair to do two different services ( half head highlights, full head highlights ) 
How long keep the product on the hair
How to protect yourself and client and use correct PPE
Etc

Photo 4
Photography by Katarzyna Kujawa © 2015
Photo 5
Photography by Katarzyna Kujawa © 2015
 Photo 6
Photography by Katarzyna Kujawa © 2015


Thank you for checking my blog
Don't go yet,
I am human not just paper on your computer screen
show me that you are human too
Leave a comment or subscribe
Please don't hesitate to contact me through my blog or facebook.
Please leave your comment or subscribe to my youtube channel to see my new videos
Thank you


Tuesday 20 January 2015

Virgin Hair Colour Application

Virgin Hair Colour Application

The hair which one never was dye before are very smooth and resistant to colour so is good to use a different method of applying the colour.
Normal cotton wool can be your best friend when lightening the hair or colouring the hair
At first, the middle part of hair should be dye all over the head and the part of the hair , around 3cm of the hair from roots , should be left and tint at the end.

To keep the roots clean and dry you can use cotton 
At the back, I have used very light blond 

Photo 1
Photography by Katarzyna Kujawa ©2015

On the sides and top part of the head, I used Rose blond 

Photo 2
Photography by Katarzyna Kujawa ©2015


Photo 3
Photography by Katarzyna Kujawa ©2015


The end result 
you should get even tone all over the head  

Photo 4
Photography by Katarzyna Kujawa ©2015


Video which one shows the end result you can find below


Thank you for checking my blog
Don't go yet,
I am human not just paper on your computer screen
show me that you are human too
Leave a comment or subscribe
Please don't hesitate to contact me through my blog or facebook.
Please leave your comment or subscribe to my youtube channel to see my new videos
Thank you


Thursday 15 January 2015

French Braid with Messy Updo

French Braid with Messy Updo

This evening I was researching websites about some hair styles and I love this nice french braid where the front looks like a crown
This hair style is messy and is not about precision but about the finish look


       Photo 1
Photography by Katarzyna Kujawa © 2015
Photo 2                                                                                    Photo3
Photography by Katarzyna Kujawa © 2015

 On photo no 2 you can see that the hair at the middle of the head is up and I used here great tool for hair
Secret Hair Boostias which one you can get on Amazon for just 1.99£ I spend more on Ebay for similar set :(
I used the biggest part from this set to get this effect


Photo 4                                                                        Photo5
Photography by Katarzyna Kujawa © 2015
                                  Photo 6
Photography by Katarzyna Kujawa © 2015
 Photo 7
Photography by Katarzyna Kujawa © 2015


Thank you for checking my blog
Don't go yet,
I am human not just paper on your computer screen
show me that you are human too
Leave a comment or subscribe
Please don't hesitate to contact me through my blog or facebook.
Please leave your comment or subscribe to my youtube channel to see my new videos
Thank you


Make Up & Hairdressing Competition

 Makeup & Hairdressing Competition

Today we had a great fashion and makeup session.
Soon the college will organise hairdressing competition and students have to think what hair they will do and what makeup they will use on model
This is something new and I will have to go out from my confidence zone to achieve something really good and impress my teachers 
So I need to find model and I have to look for hair style ideas online and after that find idea for a  makeup which one has to suit the hairstyle and the model 

Today the makeup artist showed us some techniques how to apply makeup and she let us do makeup on each other


Here are some few samples what we were doing 

Photo 1
Photography by Katarzyna Kujawa @ 2015

Makeup artist work photo 2&3 below 

Photo 2
Photography by Katarzyna Kujawa @ 2015

Photo 3
Photography by Katarzyna Kujawa @ 2015

My own creation of " fire fairy " photo 4& 5 below 

Photo 4
Photography by Katarzyna Kujawa @ 2015

Photo 5
Photography by Katarzyna Kujawa @ 2015


Here you have a work of Sandy who applied makeup on me (photo 6)

Photo 6
Photography by Katarzyna Kujawa @ 2015


Great book for face painting (  I found it  in my Library ) is Fun Face Painting Ideas For Kids, 40 Step-by-step by Nick & Brian Wolfe
You can buy it on Amazon


I was researching website to find some inspiration for the competition
Here you can check below photos of different messy hair styles which one can be perfect for this event
                                            Photo 7
http://www.fashiontvromania.com/diana-moldovan/
                                                 Photo 8
http://img.styl.fm/resize/w650/newsy/wp-content/gallery/awangardowe-uczesania-z-wlosow-dlugich/fryzura-1.jpg
                                     Photo 9
http://cdn.estilo-tendances.com/wp-content/uploads/2014/06/gallery_big_frizzy_braid.jpg
                                               Photo 10

                                                Photo 11
 http://www.bing.com/images/search?q=John+Galliano+hair+from+getty+.preview.jpg&FORM=HDRSC2#view=detail&id=CE5CBA407414109FEE762824977AC0F86186C199&selectedIndex=0

Photo 12
http://www.ukhairdressers.com/style/hairstyles/22677/Wigg%20Hairdressing-Long-Blonde-straight-hairstyles.jpg


As a student you have to make your mood board as well


 Photo 13

Photo was taken from http://www.calderdale.ac.uk/application/cache/images/7f98b9f19cf7e57a232f4bb3abe64b99.jpg

Some helpful link 


Thank you for checking my blog
Don't go yet,
I am human not just paper on your computer screen
show me that you are human too
Leave a comment or subscribe
Please don't hesitate to contact me through my blog or facebook.
Please leave your comment or subscribe to my youtube channel to see my new videos
Thank you


Wednesday 14 January 2015

Semi Permanent Hair Colour

Semi colours work very gently on your hair so you can't really damage your hair with this colours
Semi colours work only outside your hair cuticles and not going to medulla so you can feel safe if you want to use them 
This semi colour will not lift up your colour of the hair it will only add tone or darker your hair 
Colour will last to 10 washes so is a good way to cover your grey hair or add some shine to your hair and add more intensive   Tone to your hair example red blue 

How the semi colour works :
I took two samples of different hair 
Dark one and Light one 
Hair should be wet before applying the colour

Photo 1
Photography by Katarzyna Kujawa © 2015
After that I took the semi colour dark brown 

Photo 2
Photography by Katarzyna Kujawa © 2015
I put the colour on the hair , The product is made by Wella Company

Photo 3
Photography by Katarzyna Kujawa © 2015

And after 15-20 min the colour is ready 
You can see, photo 4, on the picture below that the semi colour is not visible on dark hair but only on light blond hair so if you lighten your hair before and the tone of the hair was orange you could use semi colour to add some blue tone to get a blond tone.
or just come back to brunette 

Semi Permanent Colour is very good to your hair and will not damage your hair.

Photo 4

Photography by Katarzyna Kujawa © 2015

Photo 5
Photography by Katarzyna Kujawa © 2015


Thank you for checking my blog
Don't go yet,
I am human not just paper on your computer screen
show me that you are human too
Leave a comment or subscribe
Please don't hesitate to contact me through my blog or facebook.
Please leave your comment or subscribe to my youtube channel to see my new videos
Thank you


Roots regrowth and semi colour

At college, we did today roots regrowth (Roots Regrowth/Global Application)
Photo 1
Photography by Katarzyna Kujawa © 2015

After lightening just the roots we applied semi colour to add some tone to the hair

Photo 2
Photography by Katarzyna Kujawa © 2015

Today was all about the practice 
So the lesson today was about  
How to section the hair 
how to apply  the application
How to use semi colour
The result :

Photo 3
Photography by Katarzyna Kujawa © 2015
The hair from black became light brown with red tone


Update 17 September 2015

Why we lighten the roots? to get light blond , on the blond hair you will apply semi-permanent colour to  see the colour and tone transformation


Thank you for checking my blog
Don't go yet,
I am human not just paper on your computer screen
show me that you are human too
Leave a comment or subscribe
Please don't hesitate to contact me through my blog or facebook.
Please leave your comment or subscribe to my youtube channel to see my new videos
Thank you